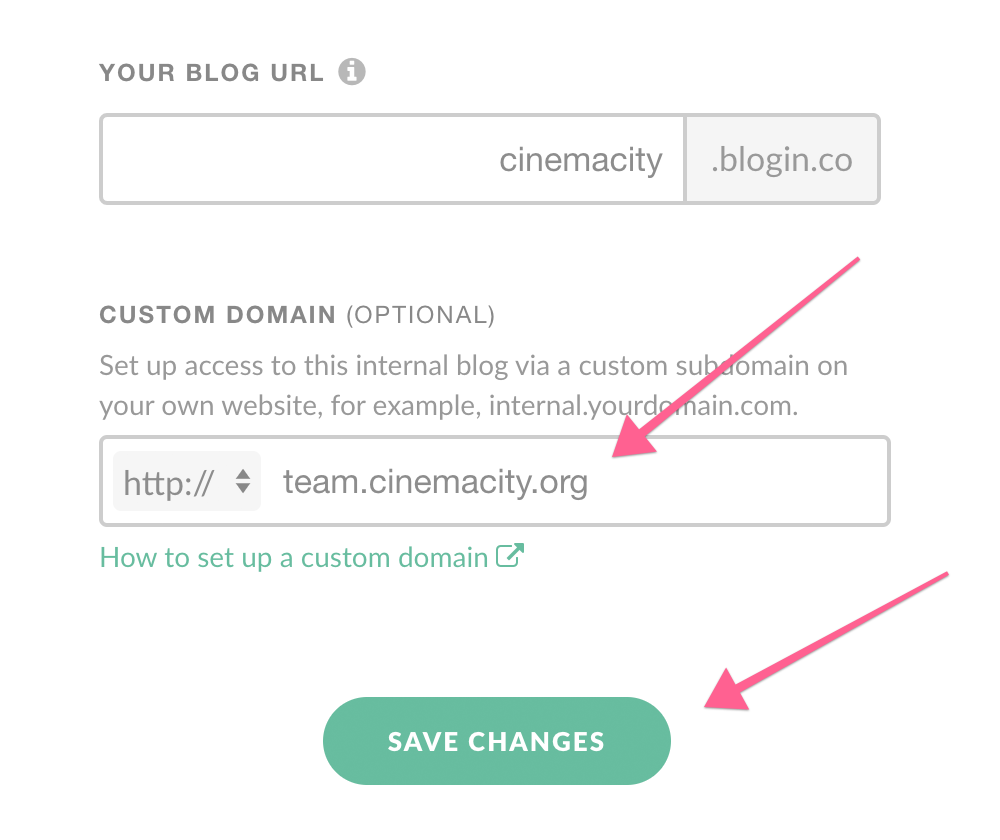
The custom domain feature allows you to use your own domain to access your internal blog on BlogIn. You can choose any subdomain on your main domain and connect it to your blog, for example, internal.yourdomain.com.
These instructions assume you have already registered a domain and can take up to 48 hours to propagate through the Internet.
Setting up a custom domain
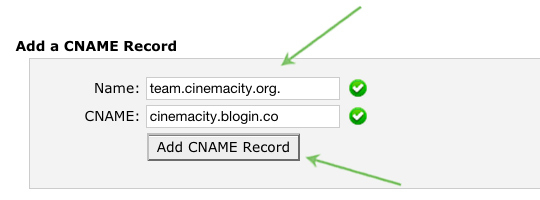
To set up a custom domain, you need to create a CNAME record on your domain provider that points to your subdomain (blog URL) on BlogIn. The name of the CNAME record should be the subdomain on your domain that you choose for the custom domain.
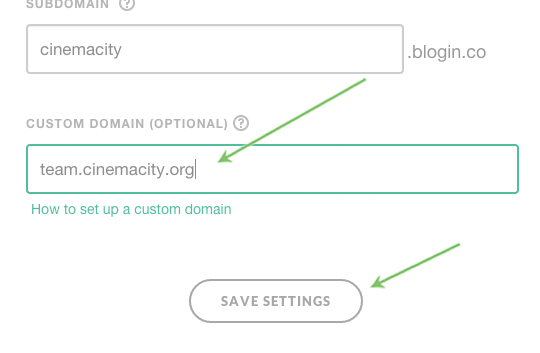
For example, if your domain is cinemacity.org and your subdomain (blog URL) on BlogIn is cinemacity.blogin.co and you would like to set up custom domain team.cinemacity.org you would create a CNAME record with following values:
CNAME record:
name: team [.cinemacity.org]
target/value: cinemacity.blogin.co
After that, there is one last step, to register your custom domain with BlogIn. Go to the Setting page of your account and type in your full custom domain in the custom domain field. In this example, you would type team.cinemacity.org. Then click Save changes.
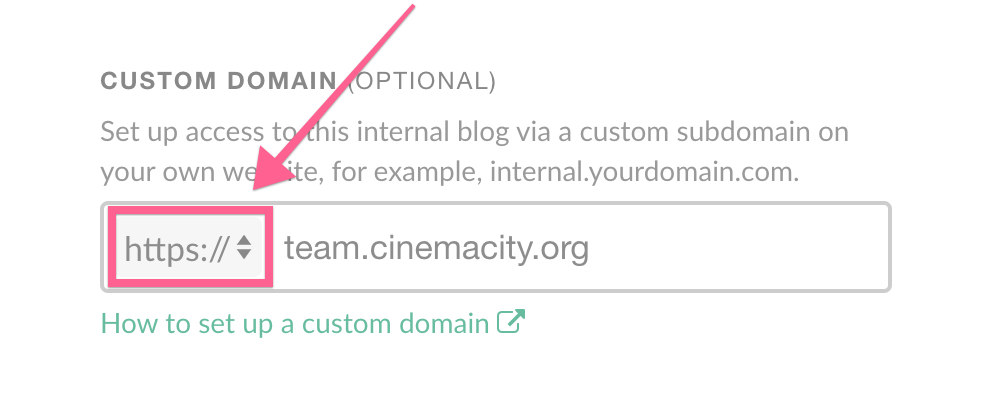
Using SSL (https) with a custom domain
If you would like to use SSL encryption (https) with your custom domain, there is one more step - installing an SSL certificate for your custom domain on our server. There are two options for this:
1) you generate and send us the SSL certificate for your custom domain and we install it on our server
2) we automatically generate and install the SSL certificate for your custom domain, using Let's Encrypt as the SSL certificate provider.
In either case, contact our customer support at support@blogin.co to resolve this.
Only after the SSL certificate has been installed on our server you can turn on the https:// for your custom domain.
The following instructions are for users that are using cPanel or Media Temple for domain management.
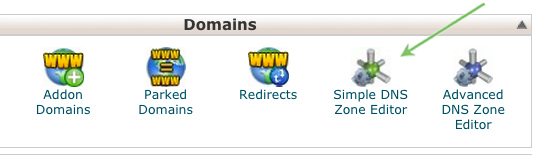
Setting up a custom domain in cPanel
Step 1 - Log in to your hosting account and go to Simple DNS Zone Editor in Domains section in cPanel
Step 2 – Add a new CNAME record with a subdomain, for example, team.cinemacity.org to point to your BlogIn URL, for instance, cinemacity.blogin.co.
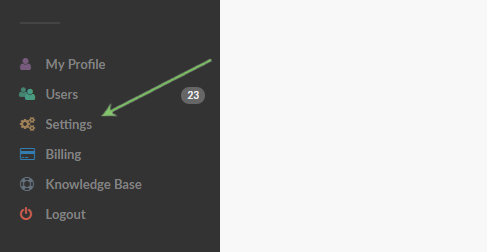
Step 4 – In your BlogIn account go to the Settings section
Step 5 – Populate Custom domain field with subdomain your want to use for redirection and click the Save Settings button
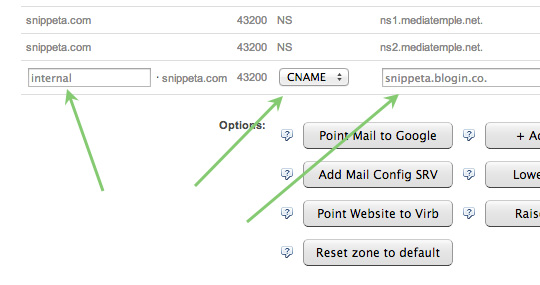
Setting up a custom domain on Media Temple
If you have hosting account at Media Temple, follow these instructions to set up your custom domain:
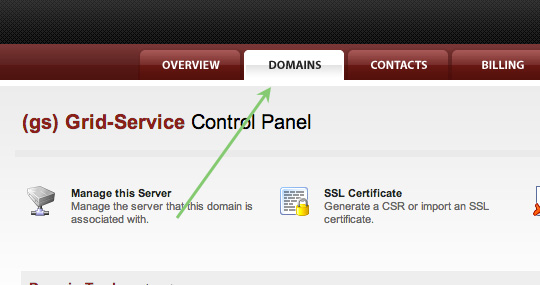
Step 1 – Login to your Media Temple account and go to Domains section
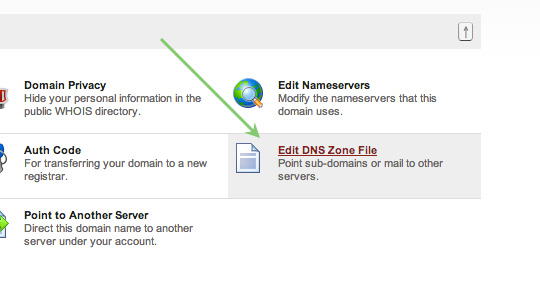
Step 2 – Click on the domain you would like to point to your BlogIn internal blog and go to Edit DNS Zone File section
Step 3 – Add a new CNAME record with a subdomain, for example internal.yourdomain.com to point to your BlogIn URL, for example, snippeta.blogin.co
Step 4 – In your BlogIn account go to the Settings section
Step 5 – Populate Custom domain field with subdomain your want to use for redirection and click the Save Settings button
