Here’s a step-by-step guide on how to configure SSO for your BlogIn account by creating a SAML app in Google Workspace. It’s a convenient option if you use Google Workspace and haven’t implemented SSO yet.
Prerequisites: Ensure that you are the administrator of both your BlogIn and Google Workspace accounts.
1. Log in to Google Admin Console (admin.google.com)
2. Go to Apps > Web and mobile apps > Add app > Add custom SAML app
The App details modal opens.
Fill in Blogin details; this information is shared with your app users.
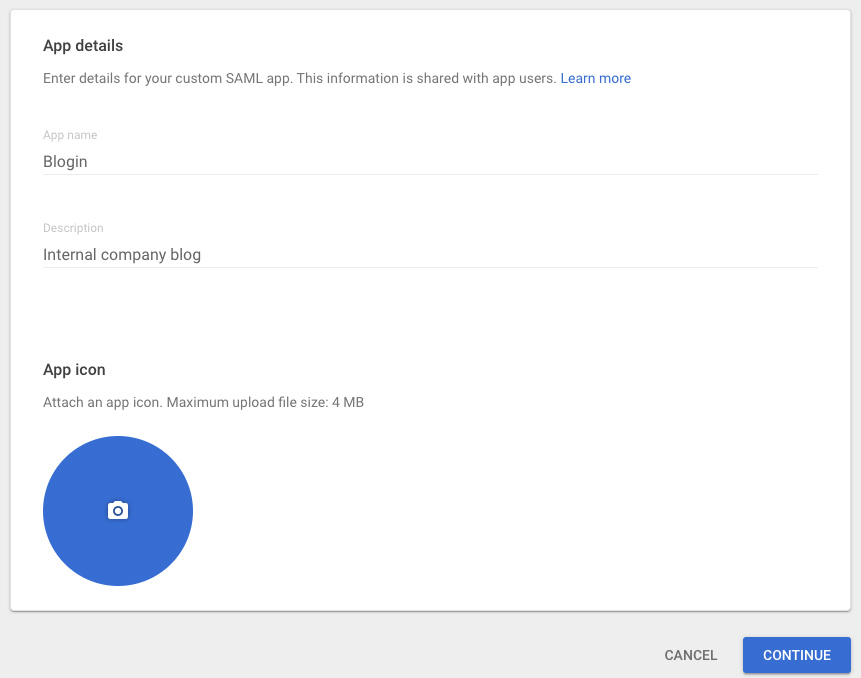
You can use this image for the App icon.
Click Continue.
3. The Google IDP Information window opens, and the SSO URL and Entity ID fields are automatically populated.
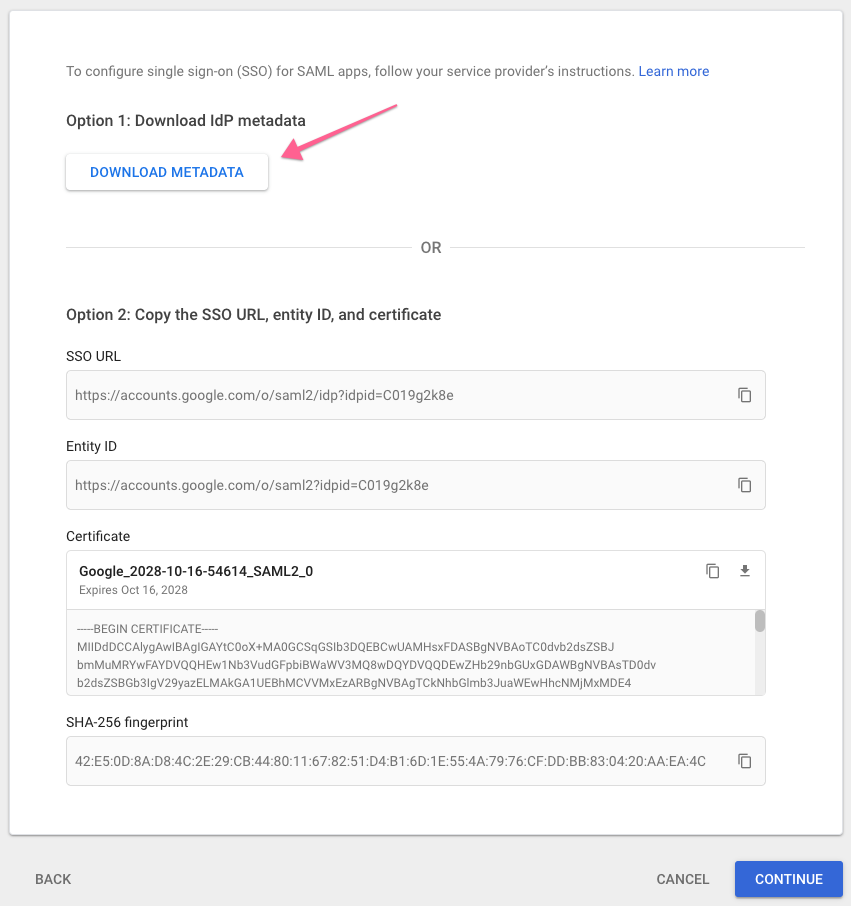
The information from this window is used to configure SSO on BlogIn. The easiest way to do this is to download the IDP metadata file, save it on your computer, and use it later when setting up SSO on Blogin (step 7).
Click Continue.
4. In the Service Provider Details window, type the following information:
ACS URL: https://{YOUR_BLOG_URL}/sso/saml/callback (with your actual BlogIn blog URL where it says {YOUR_BLOG_URL})
Entity ID: https://{YOUR_BLOG_URL}/ (with your actual BlogIn blog URL where it says {YOUR_BLOG_URL})
Start URL: https://{YOUR_BLOG_URL}/ (with your actual BlogIn blog URL where it says {YOUR_BLOG_URL})
Signed Response: Disable
Name ID Format: EMAIL
Name ID: Basic Information > Primary Email
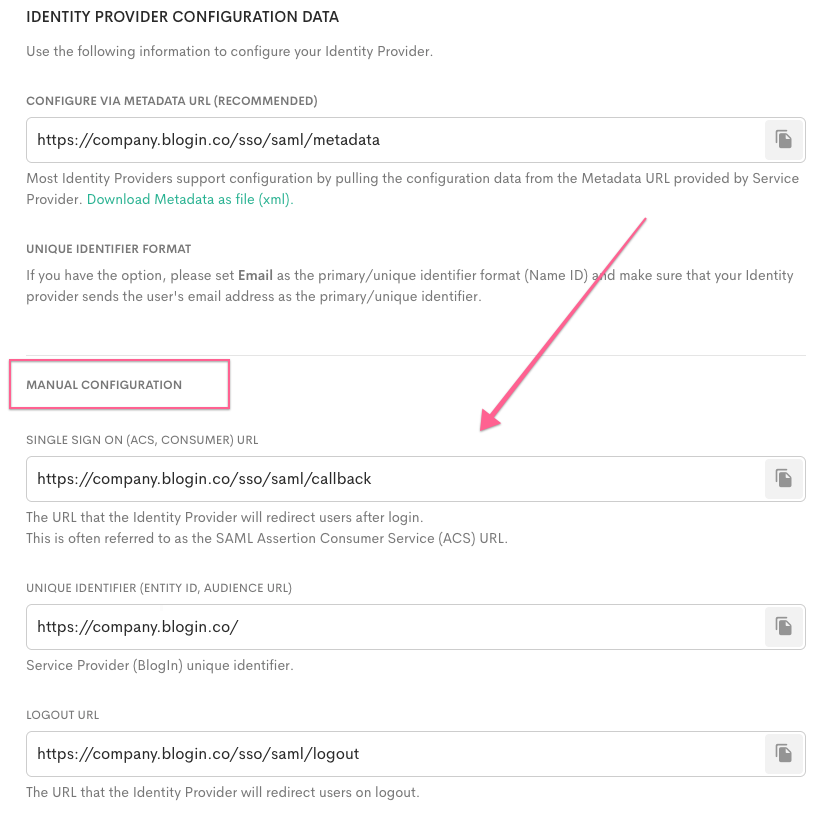
Here’s how it will look once populated in Google Admin console:

Click Continue.
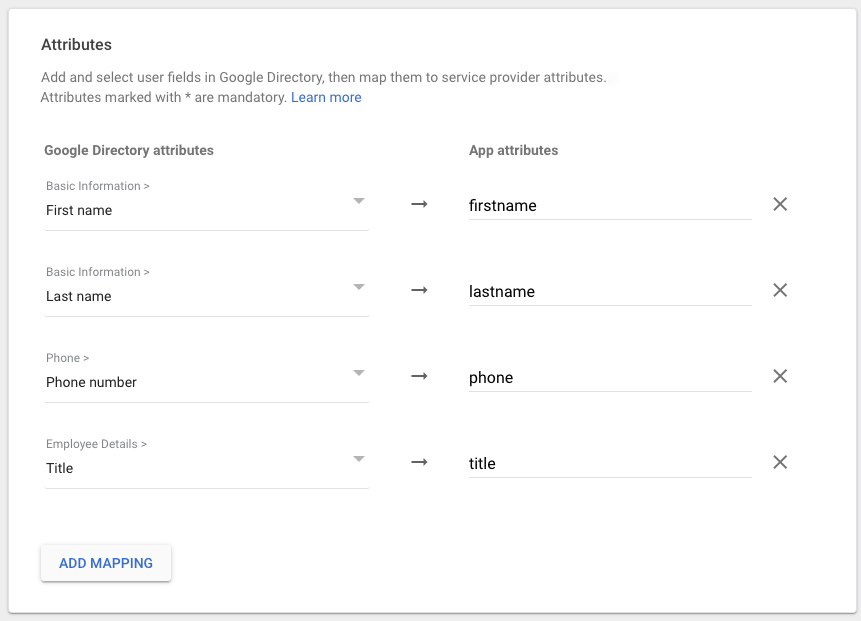
5. Provide mappings between BlogIn user attributes and available user profile fields.
Click ADD NEW MAPPING to add custom mappings for user attributes, like first name, last name, phone number, and job title.
Google Directory attribute: Basic Information > First name
App attribute name: firstname
Google Directory attribute: Basic Information > Last name
App attribute name: lastname
Google Directory attribute: Phone > Phone number
App attribute name: phone
Google Directory attribute: Employee details > Title
App attribute name: title
Syncing Google Groups to Teams (optional)
Blogin supports syncing Google Workspace groups to teams during SSO login. When a user signs in via Google SSO, the groups included in the SAML response can be used to automatically manage their team membership in Blogin. Teams marked as SSO-managed are kept in sync on every SSO login—if a user belongs to a matching Google group, they are added to the corresponding team, and if they are removed from the group, they are removed from the team on their next login.
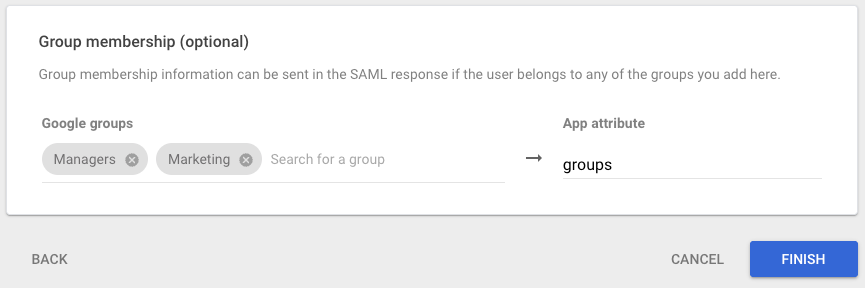
To enable group syncing, you must explicitly select the Google groups you want to share with Blogin in the Google Admin console. Add the relevant groups in the Group membership section and map them to an app attribute (for example, groups). Only the Google groups selected here will be included in the SAML response and available for syncing to teams in Blogin.
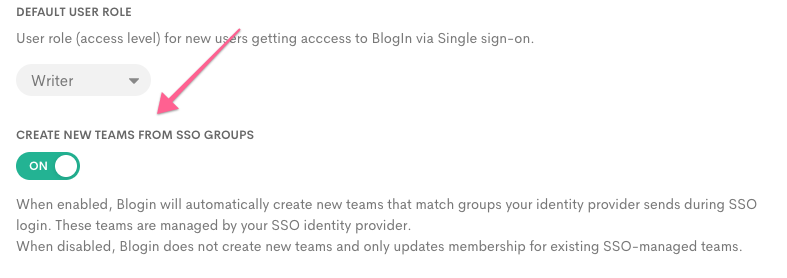
Optionally, Blogin can also automatically create new teams from Google groups. When this option is enabled in your SSO configuration, new teams are created automatically for the groups sent by Google during SSO login and are managed by your SSO identity provider. For example, if you create a new group on Google, the team with the same name will be automatically created on Blogin the first time a user who is a member of the group uses SSO to log in to Blogin, and this user on Blogin will be set to be a member of the newly created team.
Once user mappings (and optionally, group mappings) are set up, click Finish.
6. Activating the app for your domain
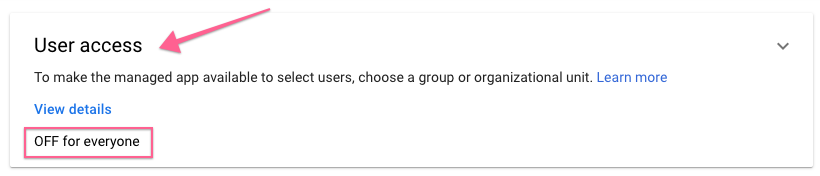
By default, the app you created is off and not visible to users signed in to your Google domain account.
To activate the app, find the BlogIn SAML app you just created and click on the User access tab to enable the app for users.
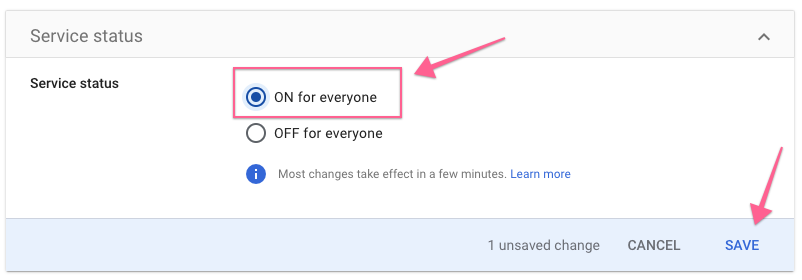
On the Service status page, select On for everyone and click Save.
You can also turn the app on only for some organizations. Here’s an article on how to add an organizational unit in your Google Workspace account.
7. Configure SSO on BlogIn
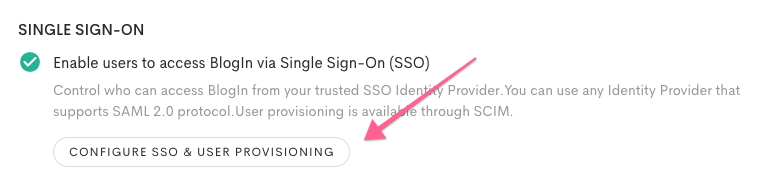
In a new tab or window, log in to your BlogIn account and go to Settings > User Authentication > Configure SSO & User Provisioning.
Change Single Sign-On status to On, and choose a custom name for SSO Login to display on the login screen.
Choose Configuration Method (Metadata URL or Metadata file is recommended) and populate the required fields.
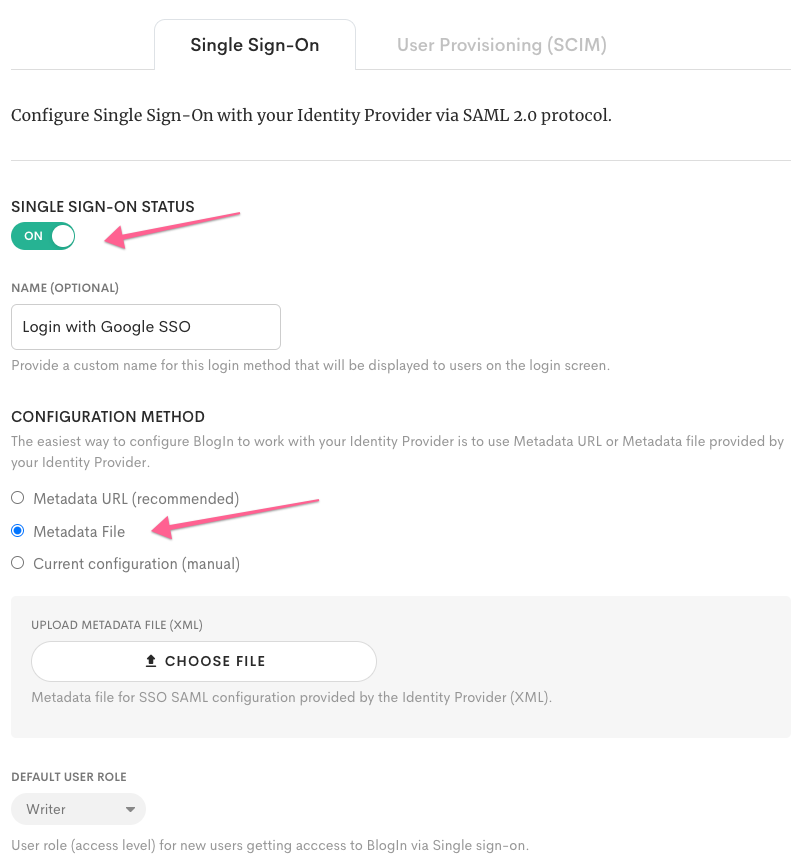
If you downloaded the IDP Metadata file in step 3, select the Metadata File as the Configuration method and upload it.
Otherwise, change the Configuration method to manual, manually enter the Identity Provider SSO URL (Login URL) and Identity Provider Issuer (entity ID), and upload the Certificate you obtained from Google Workspace (as per the last step).
Choose the default user role for new users who join via SSO.
Click Save Changes.
SSO Setup is now complete.
From now on, users should be able to log in to BlogIn by clicking the "Sign In with SSO" button on the login screen, provided they are already logged in to their Google Workspace account.
Got Questions?
Please see this Google Help Center article for detailed instructions on setting up a custom SAML app for SSO on Google Workspace.
If you have any questions, feel free to contact us via email support@blogin.co or X.